How-to
How to sharpen a Japanese knife on a whetstone
Published
Short answer
Soak or wet the stone, hold the blade at the maker's angle (often 12-16 degrees per side), and stroke the edge across a medium stone until a small burr forms along the whole opposite side. Repeat on the other side, refine on a finer stone with lighter pressure, then remove the burr with a few very light alternating strokes.
Picks for this job
All 6 picks compared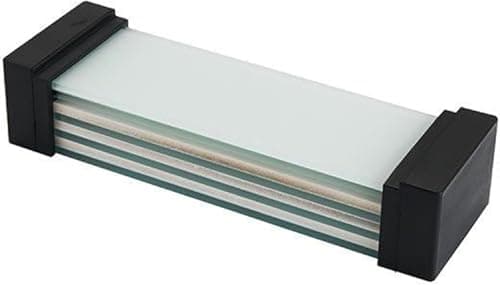
Shapton Glass 500, 2000, 16000 set with Field Holder
See price on AmazonSee it on Amazon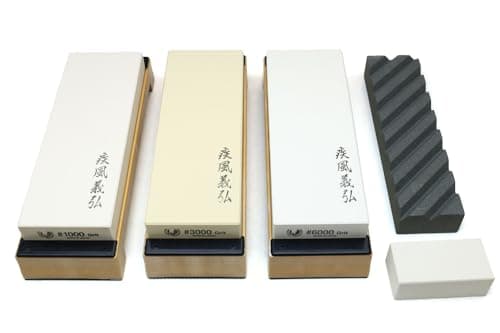
Yoshihiro 1000, 3000, 6000 set with fixer and nagura
See price on AmazonSee it on Amazon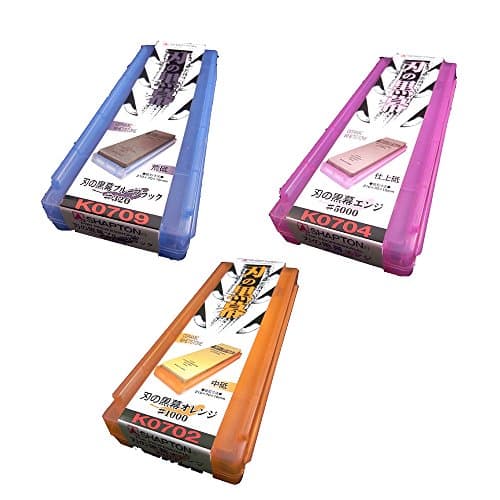
Shapton Kuromaku D-set: 320, 1000, 5000
See price on AmazonSee it on Amazon
Whetstones are the standard way to sharpen Japanese knives because they remove little steel and let you hold the low angle these thin, hard edges are made with. This guide is for a double-bevel knife such as a gyuto, santoku or petty. It covers the gear you need, how to prepare the stone, how to find and hold the angle, raising and feeling a burr, the grit progression and deburring. Single-bevel knives use a different method, which is noted at the end.
What you need
A combination 1000/6000 stone is a common starting point. Our whetstone grit guide explains each grit, and the best whetstone sets guide lists starter kits.
- A medium stone around 800-1000 grit for regular sharpening
- A fine stone around 3000-6000 grit for refining the edge
- A coarse stone around 220-400 grit only if the knife is very dull or chipped
- A stone holder or a damp towel so the stone does not slide
- A flattening plate or coarse diamond plate to keep stones flat
- Water, a towel and a marker pen for checking your angle
Prepare the stone
Some stones are soaking stones and some are splash-and-go. Soaking stones are submerged in water until bubbles stop rising, often 10-15 minutes. Splash-and-go stones only need water splashed on the surface. Check the maker's instructions, because soaking a splash-and-go stone can damage some of them.
Set the stone on a holder or damp towel with the long side pointing away from you. Keep the surface wet while you sharpen. The gray slurry that builds up helps cutting, so do not rinse it all away. Check flatness before each session; a dished stone rounds the edge. See how to flatten a whetstone.
Find and hold the angle
Japanese double-bevel knives are usually sharpened between about 10 and 16 degrees per side. Shun states 16 degrees, Miyabi lists about 9.5-12 degrees, and many other Japanese brands sit around 12-15 degrees. Our sharpening angle finder shows the angle for your brand and how many millimeters to lift the spine, and sharpening angles by brand explains the numbers.
Spine lift equals blade height times the sine of the angle. For a 45 mm tall blade at 15 degrees, that is about 12 mm. Color the edge bevel with a marker. After a few strokes, if ink is gone from the very edge but not the shoulder, raise the angle slightly; if it is gone from the shoulder but not the edge, lower it.
Note.Consistency matters more than the exact angle. A steady 14 degrees beats a wobbly 12.
Sharpen step by step
- 1
Hold the handle with your dominant hand, index finger on the spine or thumb on the flat. Place two or three fingertips of the other hand on the blade near the edge, over the section you are sharpening.
- 2
Set the knife at your angle with the edge facing away from you. Start with the tip third of the blade.
- 3
Push the blade forward along the stone with light to moderate pressure, and pull back with almost no pressure. Keep the angle steady.
- 4
Work in sections: tip, middle, heel. Do 10-20 strokes per section, moving your fingers to keep pressure over the part of the edge on the stone.
- 5
Feel for a burr: drag your thumb gently from the spine side off the edge on the opposite face. A burr feels like a tiny catch or wire. Continue until you feel it along the full length, tip to heel.
- 6
Flip the knife and repeat on the other side with the edge facing toward you, until a burr forms on the first side.
- 7
Move to the fine stone. Repeat both sides with fewer strokes and lighter pressure. The burr will get smaller.
- 8
Deburr: do a few single, very light alternating strokes on the fine stone, one per side, or slice gently through a cork or soft wood edge.
- 9
Rinse and dry the knife. Test on paper or a tomato. It should slice without catching.
Note.Keep your fingers behind the edge and away from the stroke path. Go slowly until the motion feels natural.
Sharpening the tip and the heel
The tip is where most people lose sharpness, because the blade curves up and it is hard to keep it on the stone. Lift the handle slightly as you reach the curve so the tip edge stays in contact at the same angle. Do not let the tip slide off the end of the stone, which rounds it over.
At the heel, make sure the very last part of the edge touches the stone. On knives with a bolster this can be hard; many Japanese knives have no full bolster, which makes heel sharpening easier.
Common mistakes
If the knife still feels dull after sharpening, the burr was often not fully raised or not removed. Go back to the medium stone and confirm a burr along the full length. If your knife dulls quickly between sessions, see knife gets dull fast.
- Moving to the fine stone before a burr forms along the whole edge
- Rocking the wrist so the angle changes during the stroke
- Using heavy pressure on the fine stone, which raises a bigger burr
- Sharpening on a dished stone
- Testing sharpness by running a finger along the edge
Single-bevel and brand-specific notes
Single-bevel knives such as a yanagiba, deba or traditional kiritsuke are sharpened mostly on the front bevel, laid flat on its wide bevel, then the back (ura) is touched only with a few flat strokes to remove the burr. Many owners have these done professionally at first.
For brand tips, see how to sharpen Shun knives and how to sharpen Miyabi knives. If whetstones are not for you, best sharpeners for Japanese knives covers guided systems.
Frequently asked questions
What grit whetstone do I need for a Japanese knife? A 1000 grit stone for sharpening and a 3000-6000 grit stone for refining cover most needs. Add a coarse stone for chips.
How often should I sharpen a Japanese knife? For regular home use, a full sharpening every few months is typical, with light touch-ups on the fine stone in between.
Do I need to soak my whetstone? Only if it is a soaking stone. Splash-and-go stones just need water on the surface. Follow the maker's instructions.
How do I know when to stop on each stone? Stop on the medium stone when there is a burr along the whole edge on both sides. On the fine stone, stop when the edge looks even and the burr is small.
What you need for this
- See price on AmazonAmazon
Shapton Glass 500, 2000, 16000 set with Field Holder
 See price on AmazonAmazon
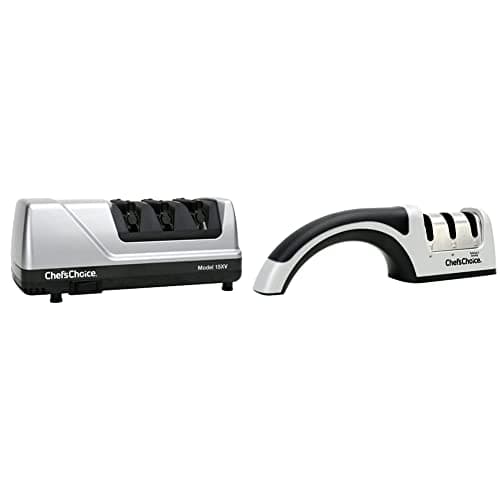
Chef'sChoice Trizor XV, 3-stage electric 15-degree sharpener
 See price on AmazonAmazon
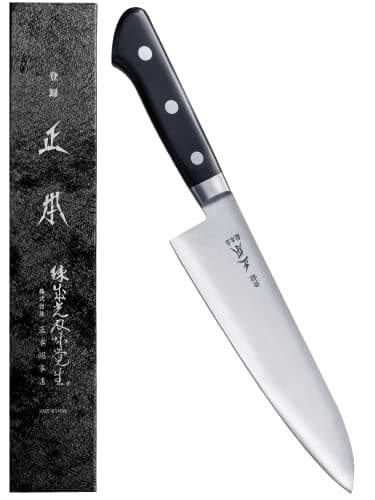
Masamoto VG 240 mm gyuto, HRC 58-59, POM handle
From Best gyuto knives: Japanese chef knives in 210 and 240 mm